Set up the Nokia app
1) Download the Nokia WiFi mobile app – it’s available on both android and iOS.
2) Open the Nokia WiFi app on your phone and get started
- Tap Get Started
- If the network is already set up (without using the app and /or by a technician) and this is the first time using the app, be sure your mobile phone is connected to the WiFi network and tap Get Started to set up the network with the app.
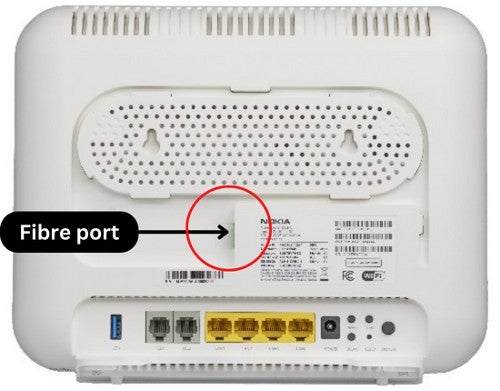
3) Connect the app to the route device Log-in using the Username and Password printed on the back of your router. After the root device is found, you will be asked to join the network that is broadcasted from the root device. They network name and WiFi Key is on the sticker on the bottom of the device. The app will need a couple minutes to connect and "prepare" your device. You will then be asked to create an account.
4) Add your Full-On WiFi Beacon
Tap Network at the bottom of the home screen of the Nokia WiFi Mobile App. Tap Add Wi-Fi Point


5) Find the best location for your Full-On WiFi Beacon
To add a Beacon wirelessly a wireless connection, tap Next to go to "Location test" to test a potential location for your Beacon.
Location placement tips:
- Place the device in an open space
- Keep the device away from the corners of the room
- Pick a location that avoids microwaves and radios that interfere with the Wi-Fi signal
After placing the device in the desired location, tap Next
Bring your mobile phone to the selected location, tap Start test. The app will start testing your location to let you know if this is a good position for your extender Beacon.
If the location is not good, tap Try new location and follow the location test steps again.
Tap Advanced Results to view the see the RSSI value at the tested location.
If the location is good, tap Next.

6) Configure your Full-On WiFi Beacon
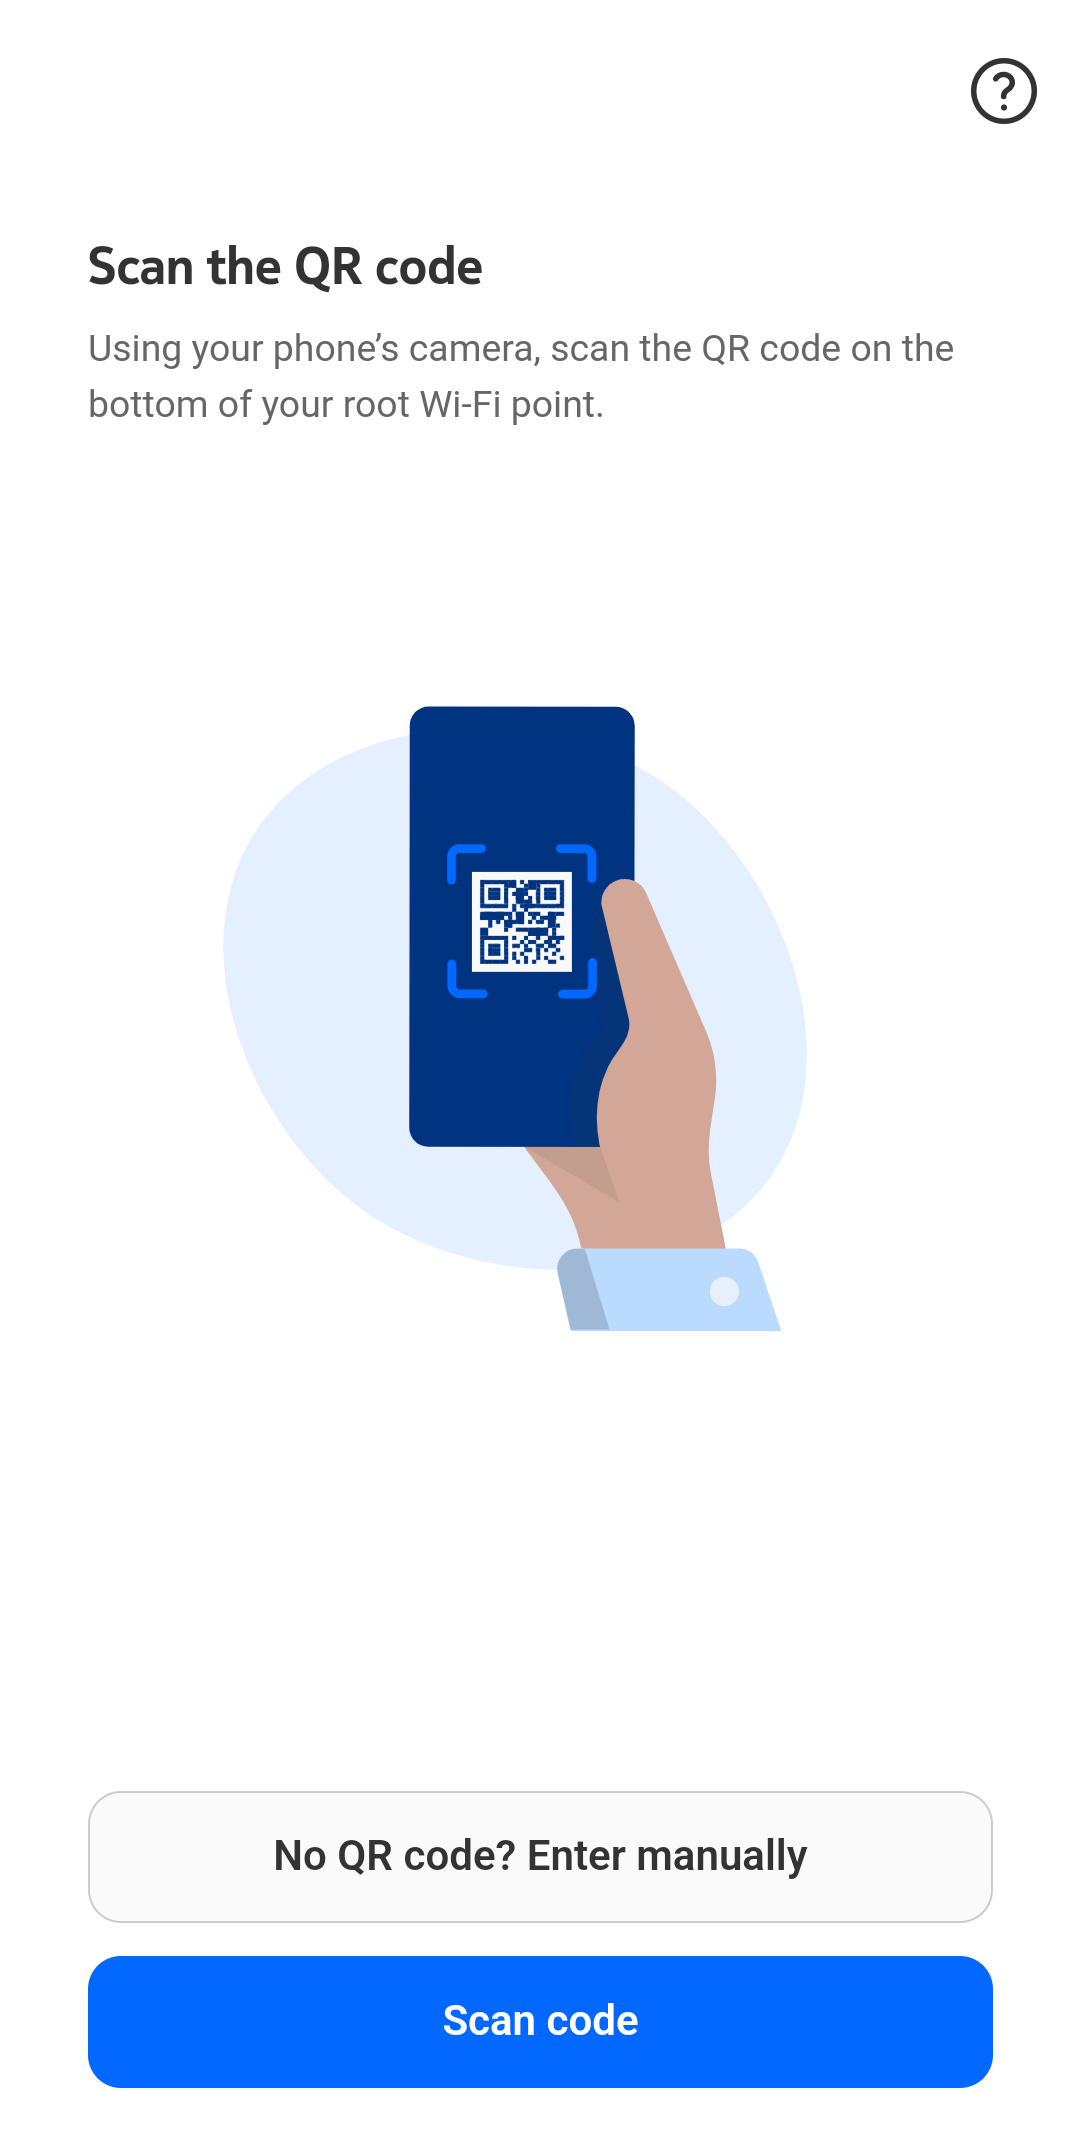
Tap Next to scan the QR code on the bottom of your Beacon. The app asks for permission to access the phone’s camera to scan the code for the first time. Tap OK and scan the code with your phone’s camera.
If you do not wish to use your camera, tap Enter manually to enter the code of your Beacon device. Find the username and password on the sticker (on the bottom of the device) and tap Next. Type the username and password and tap Next.
Plug in the Beacon to the power outlet at the selected location, press the power button to power it on and tap Next.
If you are connecting wirelessly, the app will search for the device and connect it to the network, then the app will start testing the connection.
If you are using an Ethernet connection:
Plug one end of the Ethernet cable into the LAN port (yellow) of the existing beacon and tap Next
Plug the other end of the Ethernet cable into the new beacon to its WAN port (blue) and tap Next. The app will search for the device and connect it to the network, then the app will start testing the connection.
The test will let you know if the position is good or if you need to reposition the device (if connecting wirelessly).
If your connection is great, tap Next.
If your connection is not good, tap Reposition Wi-Fi point and follow the steps to “Location test”.
Select the place where your newly added Beacon is placed and tap Next.
Tap Finished. The newly added Beacon will be listed in Wi-Fi points tab of the Network screen.
Tap on the device to get to the device details screen to see connection status, connection type (WiFi or Ethernet), serial number of the Beacon, MAC address, IP address, software and hardware version, running time and physical data rate etc.
Tap the Map tab in the Network screen to view the topology map which shows how the Wi-Fi points in your network are connected.
7) Create your account
Account creation during set up
During set up in some cases you will be asked to create an account:
In the Create account screen, enter your name in the Full Name field and tap Next.
In the What’s your email screen, enter a valid email address in the Email Address field and tap Next.
In the Create a password screen, enter a password.
The password must be 8 to 24 characters in length and include at least one special character (except for %) and at least one number. The first character cannot be a special character. The same character cannot occur consecutively 8 times.
Tap Next. A verification email is sent to your email address.
Follow the steps sent in the verification email.
Go back to the mobile app and see that the account has been successfully created.
Account creation in settings
If account creation is available but was not done during setup there will be an option to do so in settings.
In the mobile app, in the settings menu, under General, tap Account
Follow the instructions there to set up an account as described above
Account creation through the notification
By default, there is a notification for new user in the home screen when they sign into the app.
Tap on the notification icon.
Tap Create your account.
Follow the instructions there to set up an account as described above
8) Sit back and enjoy the full experience of your full fibre broadband, wherever you need it.
G.Network Full-On Wifi Placeholder FAQ's.
What is G.Network Essential Fibre?
G.Network Essential Fibre is Full Fibre broadband offering 50Mbps download and 15Mbps upload speed for customers eligible for and in receipt of one of the qualifying benefits.
There is no connection fee for Essential Fibre and the plan is priced at £15 per month on a 12 month minimum term.
Who qualifies for G.Network Essential Fibre?
In order to qualify for Essential Fibre, customers must be (and remain) eligible for, and in receipt of, at least one of the following benefits:
- Universal Credit
- Income Support
- Pension Credit (guarantee credit)
- Income-related Job Seekers Allowance (JSA)
- Income-related Employment and Support Allowance (ESA)
We will ask customers to provide us with documentation to prove that they are currently receiving at least one of the qualifying benefits.
The named individual on the Essential Fibre order must be the same as the named individual receiving a qualifying benefit and registered at the same address.
How do I send proof of benefits?
We require Essential Fibre customers to send us documentation that shows eligibility for and receipt of one of the qualifying benefits. Proof of benefits status can be either:
- a copy of your latest statement (for Universal Credit claimants)
- a proof of benefits entitlement letter (for other benefit claimants)
The documentation can either be emailed or posted to our customer service team. Detailed instructions for sending proof of benefits status will be sent to customers once their order is placed.
What eligibility checks will be carried out?
Once we receive the documentation that you send us as proof of your benefits status, we will carry out some checks. These checks are to confirm:
- The name and address on the Essential Fibre order matches the name and address on the proof of benefits documentation
- The date shown on the proof of benefits status must show eligibility for and receipt of, one of the qualifying benefits within the last 3 months
- The named customer on the Essential Fibre order is eligible for, and in receipt of, at least one of the following qualifying benefits:
- Universal Credit, Income Support, Pension
- Credit (guarantee credit), Income-related Job
- Seekers Allowance (JSA), Income-related
- Employment and Support Allowance (ESA)
What if promotions on standard residential tariffs are better value?
At times, we run price promotions on our standard residential full fibre tariffs. Eligible customers should enquire about our latest offers on our standard residential products in order to compare with our Essential Fibre.
Essential Fibre price is fixed at £15 per month for 12 months offering price certainty over the full contract term.
What happens if I’m no-longer eligible for Essential Fibre?
If you are no-longer eligible for Essential Fibre then we will send you an email to let you know, and offer to move you onto one of our standard residential Full Fibre tariffs. If you do not want to move to one of the standard tariffs then your contract will end after the initial 12 month term is complete and your broadband will be disconnected.
